Depths of Mâkhda Khorbo
- This page is about the raid. For the temple of Sauron, see Mâkhda Khorbo.
| Level: | 150 |
| Size: | 12-person Raid |
| Cluster: | Corsairs of Umbar |
| Region: | Cape of Umbar |
| Area: | Bej Mâgha |
| Location: | |

- "After the confrontation in the Citadel of Winds, the ship bearing Azagath, Belondor, and Nakási, Reaper of the Waves sails north-west into the shadow cast by the Mâkhda Khorbo. Pursuing the trio, you enter the depths of a long-hidden cavern leading through dank, twisting passages ending at an iron-wrought gate. The smells of the sea, iron, and ash assail you as you press deeper beneath the land and closer to the remnants of the temple ruins."
Location
This 12 person raid is part of the Corsairs of Umbar Instance Cluster.
It is available in the Instance Finder.
Difficulty Level
This is a non-scaled instance, designed for a Raid (12 players) level 150 and up.
Estimated completion time is 1-2 hours.
Percentage Rating penetration buffs on mobs scale with difficulty tier, quite similar to other instances, but also somewhat different. See Stat caps for details.
Raid Locks
Quests
Deeds
Creatures
These mobs are encountered within The Depths:
- Click [+] to expand a list of creatures.
Instance Overview
- First Boss: Azagath's Sea-shadow
- Second Boss: Belondor
- Final Boss: Umshûra the Glutton
Walk-through and Tactics -- Tier 1
Boss 1 (Azagath's Sea-shadow)
- One tank should be enough.
- Kill the adds first, the Sea-shadow last (as long as the adds are up, he's invulnerable due to
 Unseen Shadow).
 - Start with Burkhad (Healer), then Phêrida (Hunter), then Zagarón (Guardian).
- Both Burkhad, and Phêrida can be crowd controlled, but not on a traditional way, a combo of 2 stuns is needed.
- After the adds are dead kill the Sea-shadow as fast as possible.
- From time to time a random players gets a purple eye above their head and receive the effect
 Marked for Death.
- Run away from the Sea-shadow and keep running until the eye is gone. Healers show focus on this player, and self heals are needed too.
- Higher Tiers contain additional adds:
- Ishakhâr - Captain
- Êphaltud - Mariner
- Nûrulai
- Jadazin
- Nâxam
- Karanzôr
- Dulgakhó
Boss 2 (Belondor)
- Two tanks are needed.
- At the left side of the room are damaging furnaces, make sure to not stand in them, they will apply a
 Scorching Fire (although on Tier1 the damage is minimal).
 - Due to Belondors buff
 Legendary Warden, move him aways from his adds during the first stage of the fight.
 - If the adds are to close to Belondor they receive the buff
 Warden's Shield, making them more difficult to defeat.
 - Most groups tank the adds where they spawn and Belondor on the opposite side in a corner right where you enter the room.
- Start with Talkênza (Healer), and then the ranged adds like Lêshana... but at Tier 1 it should not matter a lot.
- The second stage will start if all adds are defeated and turned into shades (not killed).
- After a short intermission Belenor should be brought over to the adds. Make sure to not be in front of Belenor (except for the tank).
- All shades receive the following buffs Etherneal Form,
 Dread Presence and Warden's Shield. Therefor all DPS should be foccused on Belenor, as he is now vulnerable due to
  Shame of Failure.
 - Support classes should stun and debuff the adds as much as possible.
- From time to time a fellowship will receive a massive damaging
 War Cry debuff, if not cleansed the damaging debuff
  Exultation of Battle will be applied.
 - Remaining adds:
- Mairan
- Hâkraph
- Sallax
- Khalmôz
- Note: if for some reason a wipe is on hand, make sure to get all killed properly and do not attempt to reset the fight. The instance will bug out otherwise.
Boss 3 (Umshûra the Glutton)
- It's possible to use one tank, but using two tanks makes the fight much easier.
- Main for the Glutton and his tentacles.
- Off for the adds and the targeted tentacle (RAT).
- As soon as the adds (crocodiles, crabs, etc.) spawn kill them first. They spawn at the beginning of the fight and most of the time you kill the slapping (outer) tentacles. Beware that the crocodiles can nock back players into the water (if standing to close). The water will instantly kill you.
- The Glutton itself has a big frontal AoE attack which must not hit the group, especially later in the fight this can be an instant wipe. It's a grey induction and the animation looks like it is throwing-up.
- It also has a buff called
 Vile Reach, which does extra ranged damage (tank in melee).
- The main tank should tell the group if it's needed to move out of the way.
- There's a soft enrage due to the Gluttons stacking damage buff called
 Thunderous Roar. So the longer the fight, the more damage it does.
- Stage 1: 100% to 25%
- Start with killing the slapping tentacles (the one furthest to the right and the one furthest to the left) while the main tank grabs aggro from the sturdy (inner) tentacles.
- After the slappings are dead, the Glutton shows up. Make sure your main tank grabs agro.
- After the slapping tentacles are dead a crushing (small) tentacle will spawn at one of the boats (these can be found on the docks on the outer left -and righthand sides).
- If adds spawn, kill them first.
- Everyone except the main tank and the main tank healer moves to the crushing tentacle at the boat.
- As soon as you start attacking the crushing tentacle, you have 60 seconds to kill it, otherwise a boat get's destroyed.
- The tentacle will start with a
 Shielded from Coordinated Attacks buff. This buff will drop at 25%, and will make place for an
  Ancient Hide buff. This is the moment to trigger a Fellowship Manoeuvre on it. Having a Burglar is the easiest way to do it, but a Lore-master or Guardian may also trigger it (lower chance). Make sure to successfully carry out the manoeuvre (6x yellow) so the incoming damage buff will be removed.
- On Tier 1 you can probably push through with enough DPS, but using a manoeuvre makes it a bit easier.
- After the crushing tentacle is dead the boat will crush into the Glutton (doing 12.5% damage per boat), and make him vulnerable for a short time. Continue DPS on the Glutton before it goes under water again at 75%.
- Repeat the steps until the Glutton reaches 25%.
- Sometimes more than one crushing tentacle will spawn, ignore the second one, and use it later if needed.
- Stage 2: 25% to 0%
- The sturdy tentacles get the same stacking damage buff as the Glutton does. If they do too much damage kill them once. They will respawn but without the buffs.
- Make sure the tanks grabs the aggro again after respawning.
- Like the first stage, start with killing the slapping tentacles again.
- The last add wave will spawn, you can either kill them now or let the off tank put them aside and kill them while you can't damage the Glutton.
- At this moment the Glutton will also have the same Ancient Hide buff as the crushing tentacles had before. Again, perform a Fellowship Manoeuvre, and DPS the Glutton for 20 seconds (make sure to have all damage buffs like Oathbreaker's Shame etc. applied.)
- As with every Fellowship Manoeuvre, the Glutton gets a Fellowship Skill Immunity buff for 40 seconds.
- After these 40 seconds do another maneuver and damage the Glutton again.
- Repeat this until the Glutton is dead.
- Because of all the damage buffs the Glutton gets over time his AoE attack is very deadly at this stage. Make sure to not stand in front of it.
Tips
< General tips for all levels >
Rewards
| Set Items Overview | Well-worn Corsair | Belondor | Forgotten Smuggler |
|---|---|---|---|
| Tier 1 | |||
| Tier 2 | |||
| Tier 3+ | |||
| Tier 4+ |
| Jewellery (Incomparable) - Well-worn Corsair T3 |
|---|
| Jewellery (Incomparable) - Belondor T3 |
|---|
The barterers are outside of the raid at Bej Mâgha a little to the east of Khûtra.
- Quartermaster
- Beorning Quartermaster
- Brawler Quartermaster
- Burglar Quartermaster
- Captain Quartermaster
- Champion Quartermaster
- Guardian Quartermaster
- Hunter Quartermaster
- Lore-master Quartermaster
- Mariner Quartermaster
- Minstrel Quartermaster
- Rune-keeper Quartermaster
- Warden Quartermaster
Maps
-
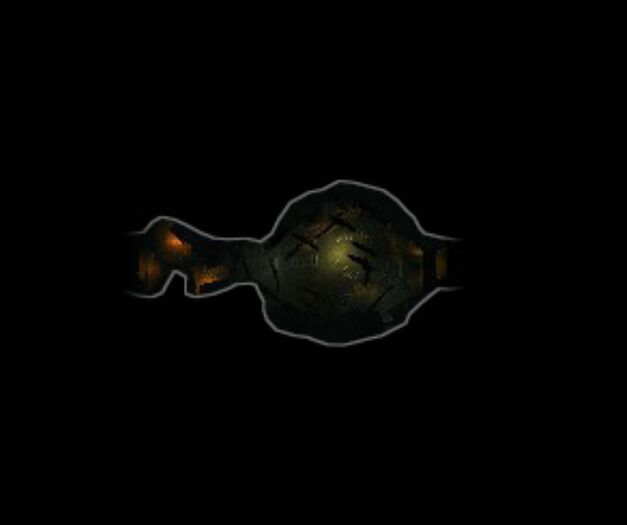
Hidden Entrance
-
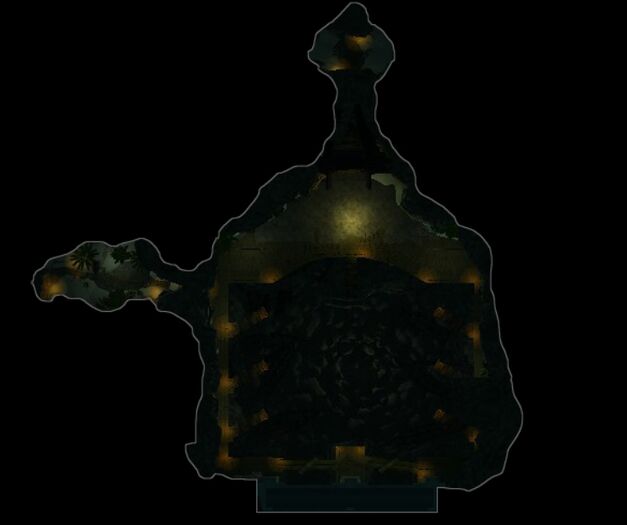
Dry Docks
-
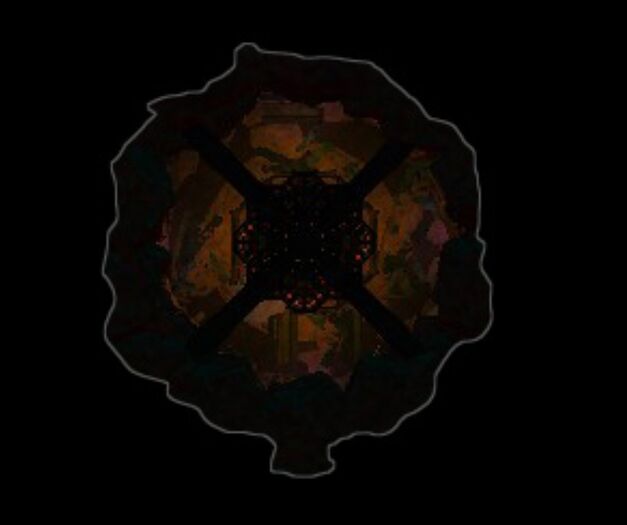
Iron Stairwell
-
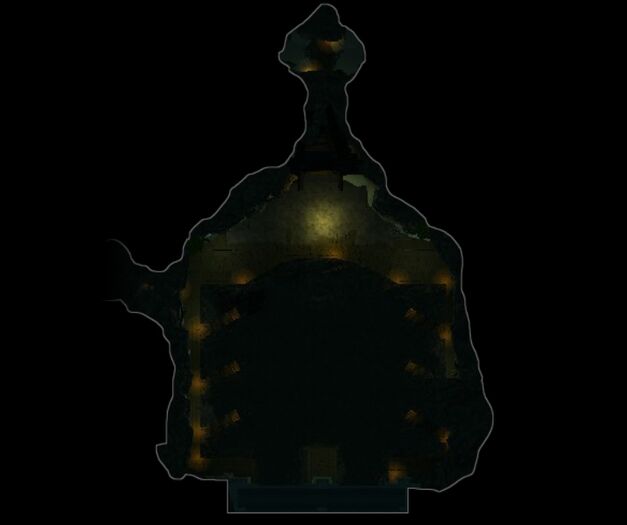
Flooded Docks


Gallery
-
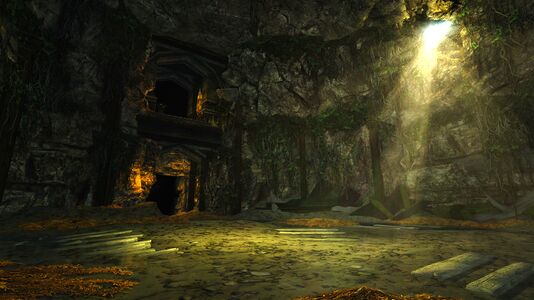
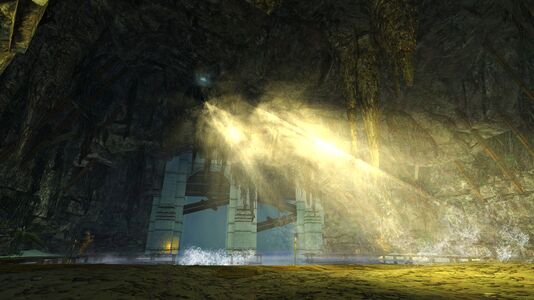
The Hidden Entrance
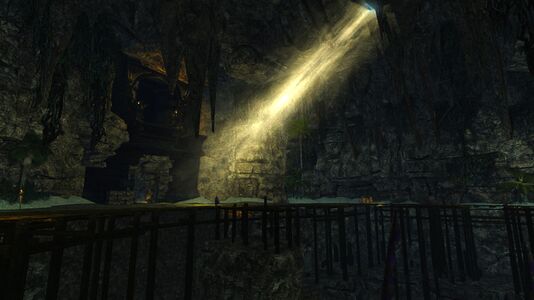
-

Passage to the Dry Docks
-
Dry Docks
-
Sunken Ships
-
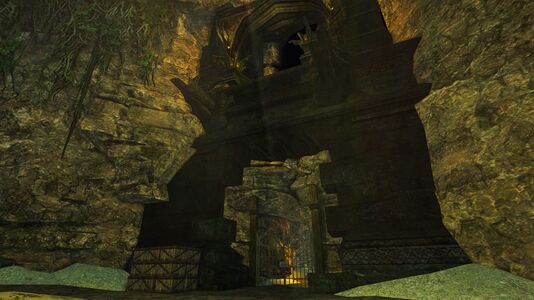
Entrance to the Iron Stairwell
-
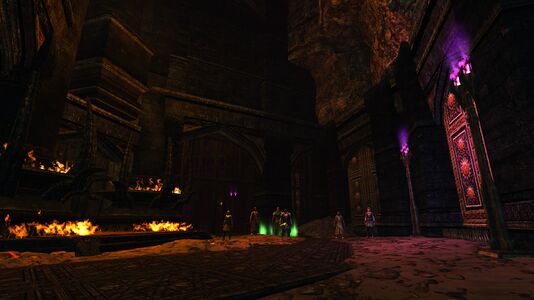
Belondors gang
-
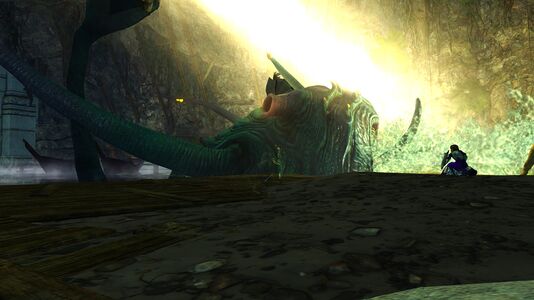
Umshûra the Glutton
-
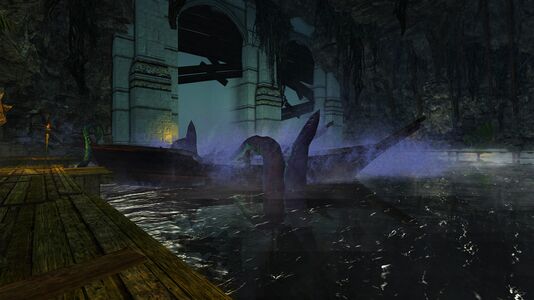
Tentacles cruching the boats
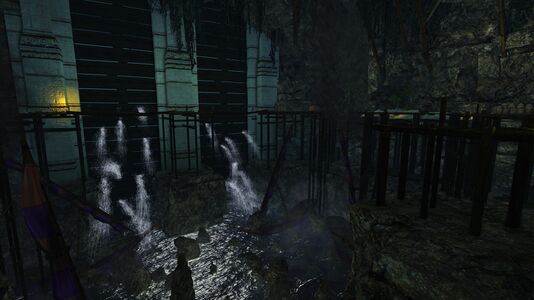
-
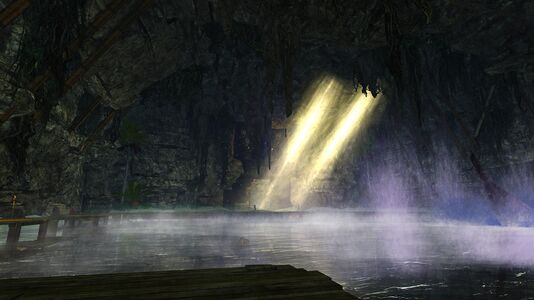
Flooded Docks
-
Flooded Docks


![[20.5S, 104.8W]](/wiki/File:Cape_of_Umbar_map.jpg)
| Corsairs of Umbar Instances Instances
| ||
|---|---|---|
| Small fellowship: | The Isle of Storms • The Streets of Râhal Bakh | |
| Fellowship: | Dahâl Huliz, The Arena | |
| Raid: | Depths of Mâkhda Khorbo | |
| Settlements, Areas and Landmarks of The Cape of Umbar
| ||
|---|---|---|
| Areas: | Aradâr • Bej Mâgha • Khaphâr • Umbar Baharbêl | |
| Settlements: | Jax Phanâl • Khûtra • Rakhatâb • Umbar Baharbêl | |
| Landmarks: | Aradâr: Bâlakhat • Bêkhmol • Hâtaphor • Hunter's Expedition Camp • Idwadâr • Jêbel Lakha • Taj-kâta Bej Mâgha: Calatirion • Ghadir Sûd • Gherja Mût • Kan Skûrja • Kâshtabil • Mâkhda Khorbo Khaphâr: Grijâti • Jâghimsa • Jid Phêsi • Súlstrok |
|
| Interiors: | Khûtra Elder Hall • Zûfan's Home | |
| Dungeons: | — | |
| Instances: | — | |